If you’re wondering how to run game as administrator on Windows 11, this guide will help you learn the best possible technique.
Navigation Table
Toggle
We will show you a way to run any game as administrator that you can adopt and apply to any locally installed software or a game downloaded through a launcher.
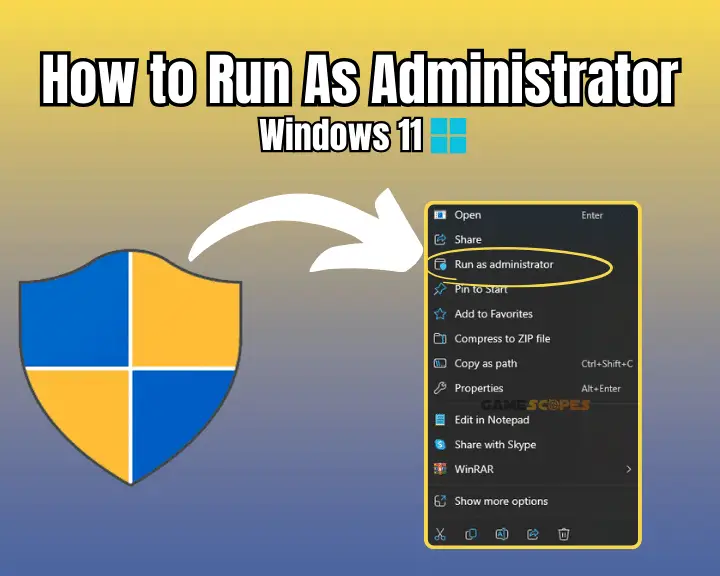
To run a game as an administrator you can simply right-click the game’s icon and select “Run As Administrator.” If you don’t have a desktop shortcut, you must reach into the game’s directory and locate the main launcher application file.
Why Run Games As Administrator?
Typically, all system files, folders, games, and software have read and write permissions under any Windows operating system build.
When running a game as administrator, you will bypass all limitations related to permission and play with complete read and write privileges. This primarily helps avoid issues such as freezing and crashing, so it’s essential to learn how to run your games in Administrator mode.
How to Run Game As Administrator on Windows 11?

1. Find the Game’s Directory
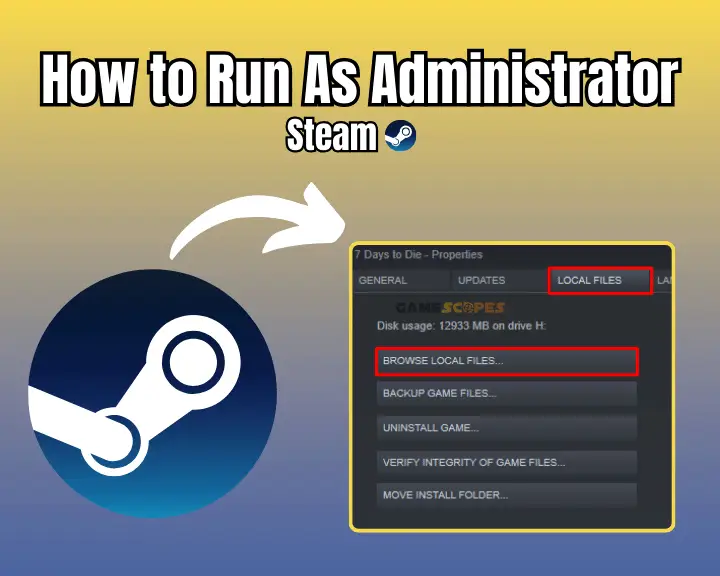
You can easily find a game’s installation directory by recalling the way the game was installed. For instance, if the game was downloaded through Steam, you can right-click the game from the Library, hover over “Manage,” and select “Browse local files.”
If your game has been locally installed on your computer, browse the local disk that the game is in to find the installation folder.
Note: If your game was locally installed (without a launcher), the desktop shortcut must be linked with the application file, hence, right-clicking the icon should reveal an option “Run As Administrator.”
2. Locate the Application File
You will see all local game files when you enter your game’s directory. Somewhere, there must be an “application” type executable file. The app file typically carries the game’s icon and name for easier recognition and is sometimes in a folder called “Bin.”
Note: You can use this file to launch the game immediately from the directory folder!
3. Run Game As Administrator
When you find the app file of your game, right-click on it, and you should see the “Run as administrator,” which should be second from the top.
When you click on the option, a larger window will open and you will have to confirm, so the game can open. Now the game runs with full read and write privileges, so you shouldn’t experience any crashing or freezing.
How to Find a Game Directory on Steam?

It’s very easy to enter a certain game’s directory, especially if you have the software installed from the Steam launcher.
Here are the steps:
- Open the Steam launcher and go to “Library.”
- Right-click the game and hover over “Manage.”
- Click “Browser Local Files” to enter the folder.
When you’re inside the game folder, you can easily work with the files, but mind that deleting any of them may break your game. A quick way to restore missing/broken files is to reinstall the game.
Let’s Recap: How to Run Game as Administrator on Windows 11
So, to run a game as administrator on Windows 11 you need to locate the game’s application executable, which is in the installation folder. If your game was installed through the Steam launcher, right-click the game from the Library → Manage → Browser Local Files.
Related Articles:
- How to Check If Your PC Can Run A Game? – Best Methods
- How to Stop Overheating While Gaming – 3 Quick Methods
- How to Tell if Charging Cable is Good for Gaming
- How to Update Graphics Card Driver? (AMD/Nvidia/Intel) Guide
- How to Uninstall Games on Windows 11? – Easy Guide
- How to Check if Internet is Good for Gaming? – 2 Proven Ways
- How to End Demanding Processes for Gaming? – (Windows 11)


![[FIXED] TARISLAND Not Installing on PC? - (Get It Installed NOW)](https://gamescopes.com/wp-content/uploads/2024/06/FIXED-TARISLAND-Not-Installing-on-PC_-Get-It-Installed-NOW-300x240.webp)

