If you’re wondering how to uninstall games on Windows 11, we’re going to show you the best way to adopt from now on to remove any game effectively. The main purpose of uninstalling games is to free up storage and relieve your PC utilization.
Navigation Table
Toggle
The best possible method of reinstalling games remains the old-school process by entering the Windows’s Control Panel. This way you don’t need to worry about remaining files, cached folders or remaining registry keys.
To uninstall games on Windows 11, open the Windows Control Panel, and click on “Uninstall a Program.” You must then locate the game from the list of all installed software on your PC and click on “Uninstall” to remove it.
How to Uninstall Games on Windows 11?
This is the original method of uninstalling games on Windows, and once you adopt this technique, you’ll always uninstall your games cleanly.
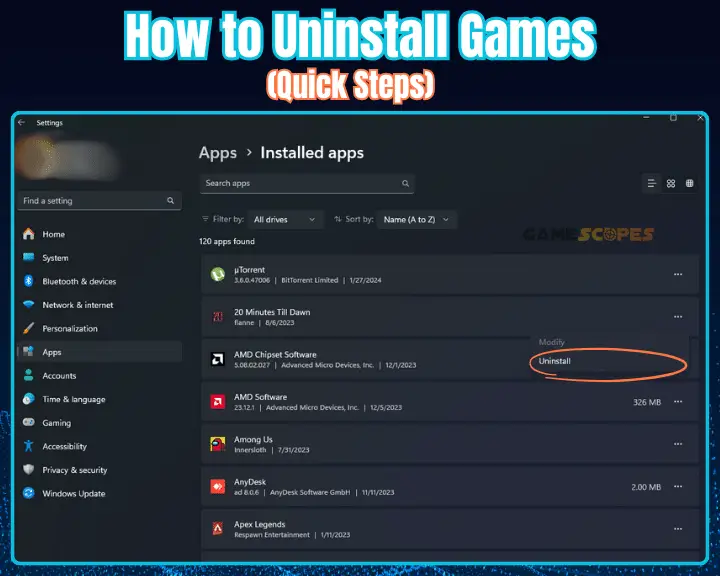
Note: The steps below work on any locally installed games or launchers including Steam, Battle.net, Origin, Epic Games, and Riot Client.
1. Open the Control Panel
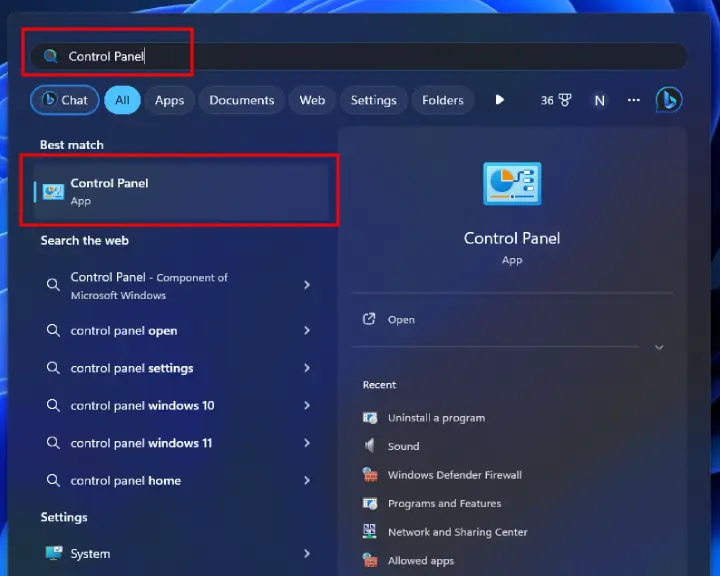
To open the Control Panel on Windows 11 operating system, click the Start Menu from the Taskbar and write “control panel.”
2. Click “Uninstall a Program”
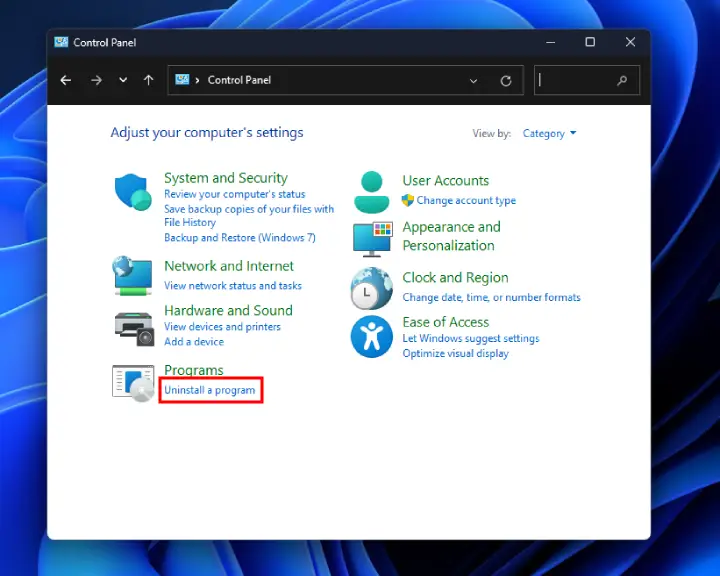
When the control panel of your Windows opens, click on the “uninstall a program” under “Programs,” but if you’re using small icons, click “Programs and Features.”
3. Find the Game for Removal
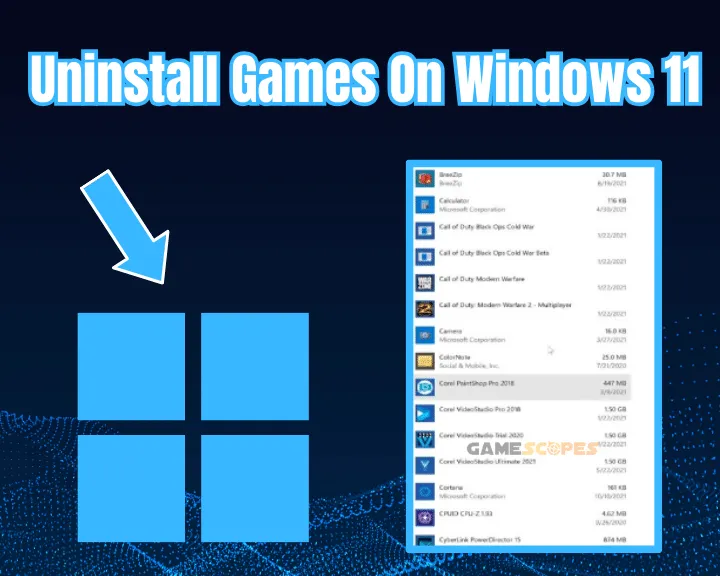
You will be greeter with a large list of all installed apps and games on your machine. The next step is to locate the game that you want to uninstall completely from your machine. When you find the game, you can see the publisher, installation date and the space the game occupies.
4. Uninstall the Selected Game
When you locate the game you would like to remove, you only need to click the game tile first and then click “Uninstall” at the top right.
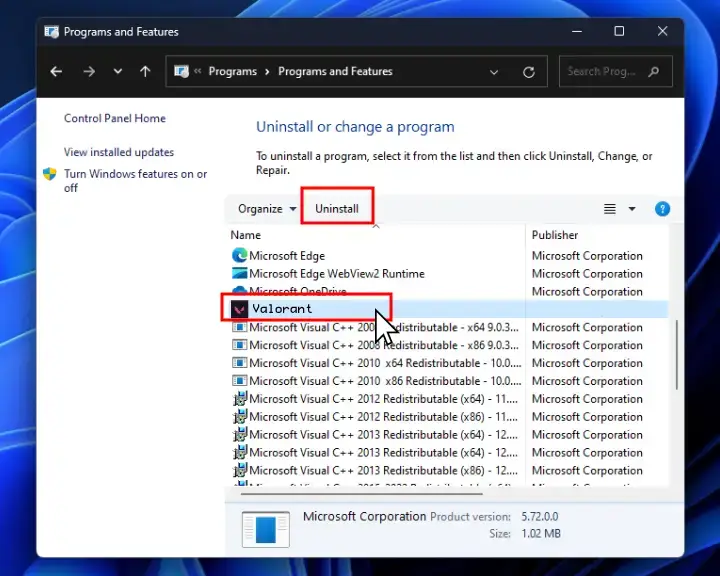
For some games and software you may see a “Uninstall/Change” button that only means that you will be asked whether to install or repair the game. You simply need to choose uninstallation and follow the on-screen instruction to remove the game.
How to Remove Game Cache on Windows 11?
Sometimes when you make saves in games, the saved data remains on your PC and even after uninstalling the game, the files stay there. Typically those files are not large in size (with a few game-specific exceptions), hence they may not affect your computer’s available storage space.
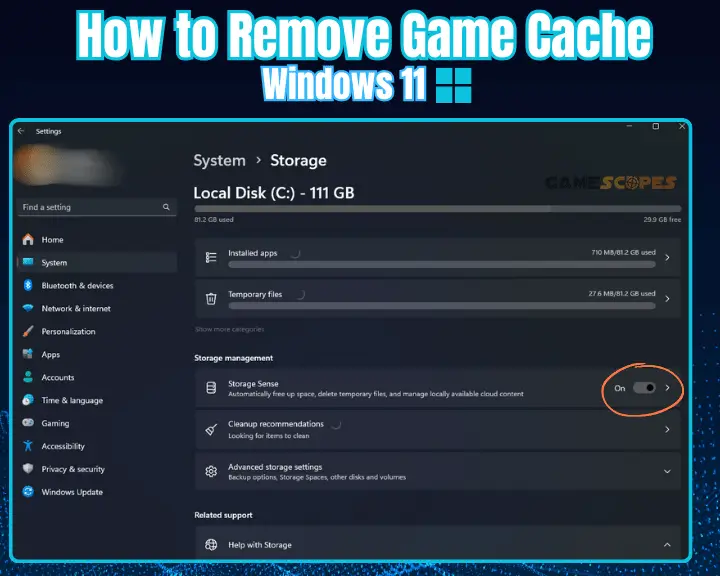
If you want to remove the cache data for any game, follow the steps below:
- Click the Start Menu from the Taskbar.
- In the search field input “%appdata%”.
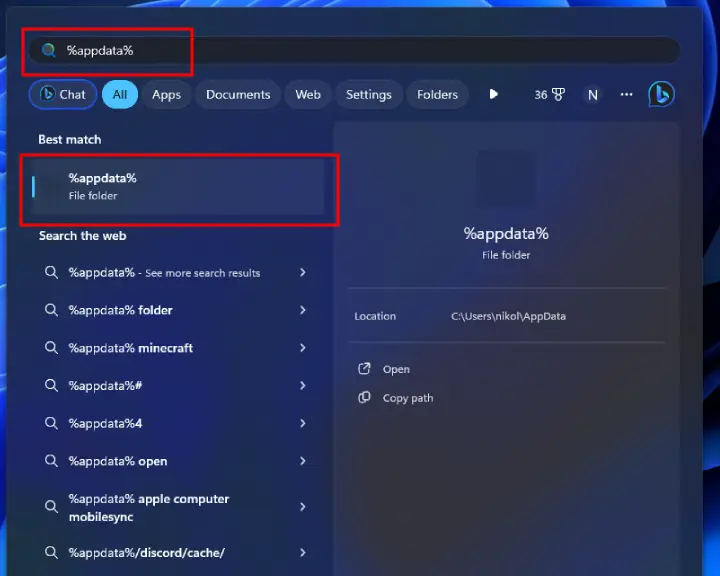
- Click on the app data folder to open it.
- Info: All folders carry the game’s name.
- Delete any folder to remove game data.
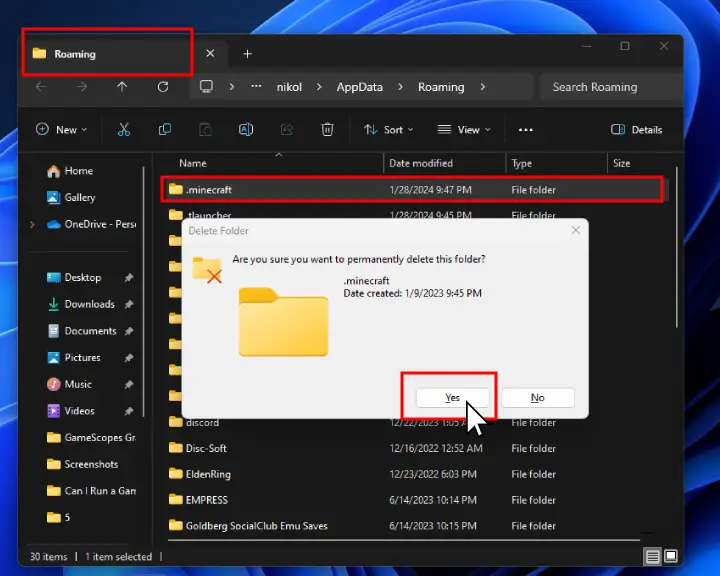
That’s it. Your game data is now removed.
Recap: How to Uninstall Games on Windows 11?
You can uninstall games on Windows 11 by opening the Control Panel, clicking on “Uninstall a Program” and locating the game in the list. From there, you simply need to highlight the game and click “Uninstall” on the top.
Related Articles:
- How to Check If Your PC Can Run A Game? – Best Methods
- How to Stop Overheating While Gaming – 3 Quick Methods
- How to Tell if Charging Cable is Good for Gaming
- How to Update Graphics Card Driver? (AMD/Nvidia/Intel) Guide
- How to Run Game As Administrator On Windows 11?
- How to Check if Internet is Good for Gaming? – 2 Proven Ways
- How to End Demanding Processes for Gaming? – (Windows 11)

