

Wondering why the ASUS ROG ALLY not turing on? We are here to help!
Navigation Table
ToggleThe reason for this issue occurring could be a very simple one or something a bit more complex, but both can be identified by running some simple troubleshooting steps. This guide will provide easy and simple solutions and get your device up and running in no time!
Whenever the ROG ALLY isn’t turning on, plug in the device and then turn it on, use the XG Mobile to check for damage to the display, leave the device for 30 minutes and try again, inspect cables for physical damage, and power cycle the battery.
This issue is extensive, so let’s begin!
Why my ASUS ROG ALLY Not Turning On?
In order to fix this frustrating fault it is essential we look at all the possibilities as to why this issue is occurring. To do this easily and as fast as possible we have compiled a list of all the possible malfunctions, errors or issues that have to do with this topic!
Here is what is causing the ALLY device to not turn on:
- There is an issue with the battery.
- The hardware has been damaged.
- There is an issue with overheating.
- An issue with charging is occurring.
These are all the problems which your Asus ALLY device may be experiencing. To fix these problems with easy solutions follow our professional guide!
My ASUS ROG ALLY Won't Turn on - Fixed!
Tip: Follow our solutions in the provided order!
1. Turn on the Device, While Charging
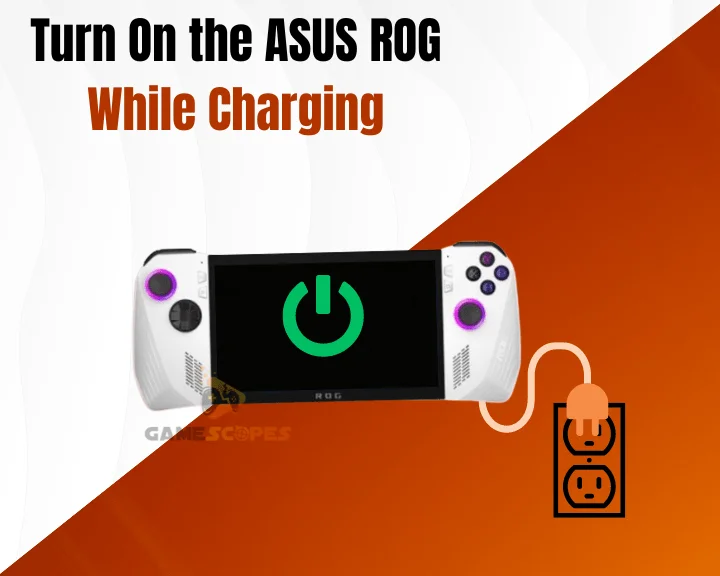
This issue may be occurring because of a fault with the inbuilt battery. To test this a simple method is simply turning on the device while it is plugged in! This will bypass the battery and enable the device to boot using only the power from the wall outlet and charger.
How to turn on the device while charging:
- Make sure the device is connected to the outlet using the official charger.
- Locate a light flashing green or red, this indicates that the device is charging.
- Now power on the device and wait for the device to boot into the desktop.
Tip: While the device is charging, inspect the provided cable and wall adapter for any signs of physical damage.
2. Reboot the ASUS ROG Ally

A good way to ensure everything is working as intended within the Asus ROG ALLY, is to perform a hard reset. A reboot of the device will reset all the processes and correct any errors which may have occurred. Do not worry this can be done with the device powered off.
Here is how to force reset the ROG ALLY:
- First plug in the device to ensure the best result.
- Hold down the power button for about 30 seconds.
- Wait for the device to power on and do not touch it.
Tip: Be sure to hold down the power button to turn off the device before attempting this to ensure success.
3. Fix Any Cooling Issues

Another reason as to why this issue could be occurring is the Asus ALLY overheating. This could cause significant complications especially to the battery which may be the reason for the Asus ROG ALLY not turning on.
If you were previously using the device and it turned off and will not turn on again it is a very good idea to let the device rest for a while so it can cool down. If the device booted up and you are still experiencing this issue it may be a good idea to turn off “CPU Boost”.
How to Activate "CPU Cooling" On ASUS Ally?
- The first step is to select the “Start” menu and enter “Registry Editor”.
- Now, find and open the folder named “HKEY_LOCAL_MACHINE”.
- Following that, navigate to SYSTEM → CurrentControlSet → Control.
- Locate the “Power” section and expand it, next open “PowerSettings”.
- Click on the folder beginning with “54533251…” and then “be337238”.
- Locate the section named “Attributes” and perform a double click.
- Finally, navigate to the “Value data” section and change the value to “2”.
How to Deactivate "CPU Cooling" On ASUS Ally?
- Initiate by accessing the “Start” menu and entering “Edit Power Plan”.
- Identify the active plan with the blue circle adjacent to the name of it.
- Click the option called “Change plan settings” next to the active plan.
- Proceed to locate and open the “Change advanced power settings”.
- Within the menu, select the “Processor power management” option.
- Next, locate the “On battery” option and set it to the “Disabled” one.
- Lastly, select the “Plugged in” option and configure it to “Disabled”.
4. Use the XG Mobile to Check for Damage

The ASUS ROG Ally not turning on issue may actually be an issue to do with the display sustaining physical damage. An easy way to check this is to use the XG Mobile to dock the device and connect it to a working monitor.
How to use the XG Mobile to connect a display:
- First plug in the XG Mobile using the official power cable.
- Now power on the ROG ALLY and leave it in desktop mode.
- Plug in the eGPU’s cable into the top side of the Asus ALLY.
- Check if the LED and toggleable switch are facing the display.
- Toggle the switch and wait for the LED to shine white or red.
- Now simply connect the XG Mobile to a functioning screen.
Tip: Verify that the XG is connected, fully functional and has not trespassed the overheating margin.
5. Cycle the Ally's Battery

Another reason for this frustrating issue is a problem with the battery or battery cable. This issue can be resolved by opening the back of the device and disconnecting and subsequently reconnecting the battery cable and connector.
How to power cycle the Asus ROG ALLY battery:
- Remove the back panel of the device.
- Now, unplug the cable for the battery.
- After that, wait for at least 10 minutes.
- Press the power button a couple of times.
- After that, reconnect the battery cable.
- The last step is replacing the back plate.
Tip: Do not damage any of the warranty stickers inside of the device as this will void your warranty.
6. Contact Asus Customer Support
Our final solution is to contact the Official Asus Support. If all else fails the last thing to try is contacting Asus support, as they may be able to provide you with insider knowledge or even offer a replacement if the warranty on your device has not expired!
How to contact Asus Support:
- First, open the Official Support Page.
- Scroll down to “Select a Product”.
- Now, click on “Show All Products.”
- After that, select “Gaming handhelds.”
- Find the “Select your product” menu.
- Select the “Product series” drop-down.
- Now, click on the “ROG ALLY” option.
- Expand the “Product Model” section.
- Input the model number of your device.
- Scroll down to the “Contact Us” section.
- Select your preferred method of contact.
Tip: If you are struggling to find the model number of your device, it is usually located on a sticker on the bottom of the device or on the box itself.
Let's Recap!
If ASUS ROG ALLY not turning on, turn on the device while it is charging, hard reset the device, let the device cool down to fix overheating, use the XG mobile to check for screen damage, cycle the battery, and contact Asus support.


![[FIXED] Lenovo Legion Go Not Turning On - (7 Instant Solutions)](https://gamescopes.com/wp-content/uploads/2024/04/Lenovo-Legion-Go-Not-Turning-On-Featured-Featured-300x240.webp)