
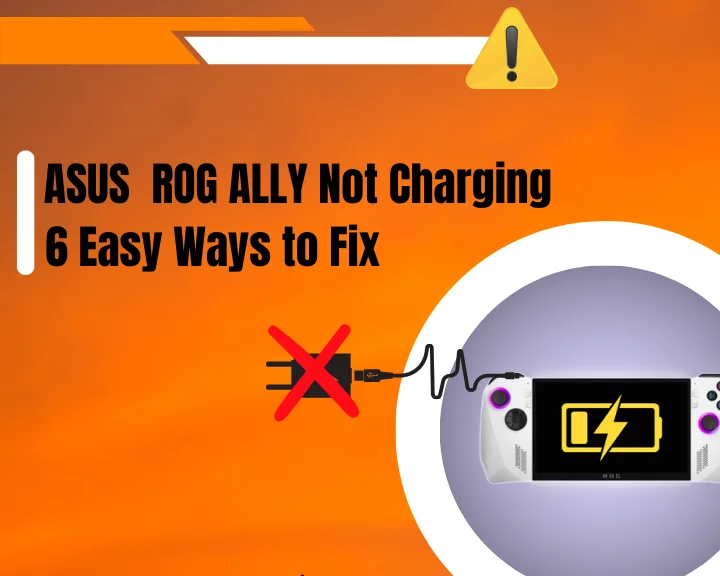

Wondering why Asus ROG ALLY not charging? Don’t worry we are here to help!
Navigation Table
ToggleThere are many reasons as to why the ROG ALLY won’t charge such as, a faulty cable or charging port, a software issue caused by overheating or a setting in the MyAsus app. This guide will help you troubleshoot this issue and provide effective and easy solutions!
When the Asus ALLY isn’t charging, use a third-party USB-C cable to test the charging port, charge the system using the XG mobile, cycle the Battery care setting in the official MyAsus app, disable CPU boost, disconnect and reconnect the battery.
There is a lot to this issue, so let’s get started!
Why is Asus ROG ALLY Plugged in Not Charging?
The first thing to do is to understand what exactly is causing the Asus ROG ALLY to not charge out of nowhere. To help you with this we have compiled a list of what could be causing this frustrating issue!
Here is why the ROG ALLY is not charging:
- The charging cable or port have been damaged.
- There is an issue with the overheat protection.
- The “CPU boost” setting is causing overheating.
- There is a software issue with the battery.
- The “Battery Care Mode” is causing issues.
What is "Battery Care Mode" On ASUS ROG ALLY?
Asus’ “Battery Care Mode” their solution to long term battery health. This setting automatically prevents the battery from being charged to over 80% making the battery live longer.
While this is a very good idea and is useful in general, it could cause issues with charging the device.
These are the possible problems occurring with the Asus ROG ALLY handheld system. Continue following this guide to find the best solutions.
ASUS ROG ALLY Not Charging - Easy Steps
Tip: Follow our step by step guide in the provided order!
1. Use a Third-party Charging Cable
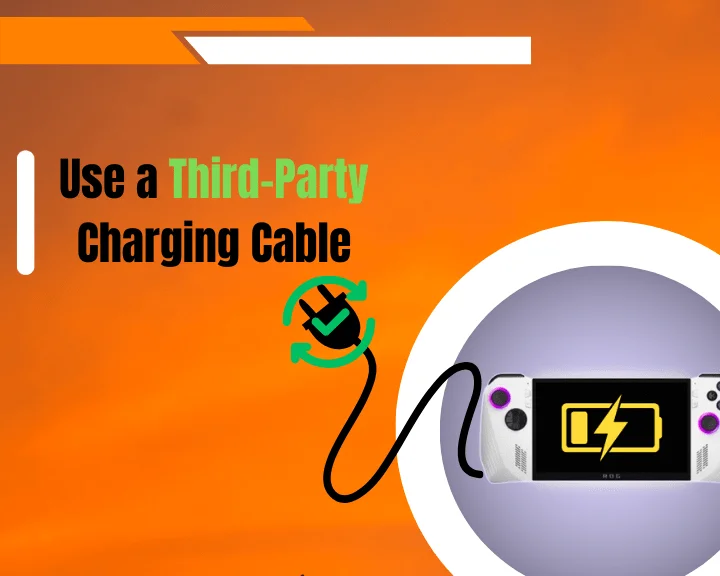
One reason for the Asus ROG ALLY charger not working is a faulty cable or charging port. To figure out if this is the reason make sure to inspect the cable for any cuts, frayed wires, or damage to the connector/pins on both ends.
To test if your device has incurred damage use a third-party charging cable. Any USB-C cable will do the trick, you can even use your phone charger. Before testing this, verify that your third-party cable works, by charging something you know is working as intended, for example a phone or tablet.
If you have verified that the cable is in perfect working order, clean out the charging port and plug it into the Asus ROG ALLY, and check for a flashing light. If the charging light is not turning on there may be an issue with the device’s charging port and you should contact Asus support for a replacement or further assistance.
2. Cycle the "Battery Care Mode"
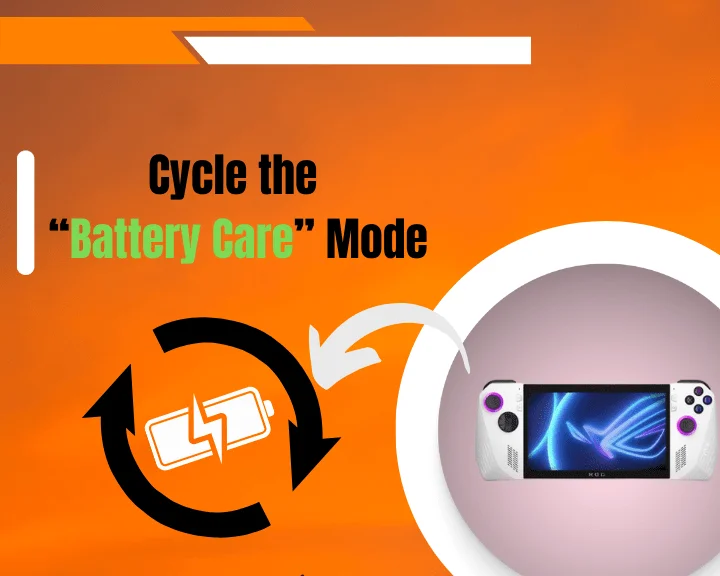
Another reason as to why the Asus ALLY handheld system is not charging, is because of “Battery Care Mode”. This setting is usuALLY very useful for the ROG ALLY system, but it could be malfunctioning, so it is a good idea to cycle this setting.
Here’s how to cycle “Battery Care Mode” on your Asus ROG ALLY:
- First open the “MyAsus” app.
- Next go to “Customization”.
- Locate “Battery Care Mode”.
- Next toggle the option OFF.
- Wait for a couple of minutes.
- And turn the setting back ON.
Tip: If the device started charging and stopped again, you may want to permanently disable this setting.
3. Deactivate "CPU Boost"

The Asus ROG ALLY has a “CPU boost” option, which as the name suggests boosts the performance of the device’s CPU. This setting is set to Aggressive by default and could cause issues with overheating, producing Asus ROG ALLY not charging issue as well as not reading SD card.
How to Activate "CPU Boost"?
The ability to change this setting is not enabled by default so we must change that before being able to tinker with the “CPU Boost” option.
Follow these instructions to make “CPU Boost” visible:
- First click on the “Start” menu, and type in “Registry Editor”.
- Locate and open the folder called “HKEY_LOCAL_MACHINE”.
- After that go to“SYSTEM” → “CurrentControlSet” → “Control”.
- The next step is to locate “Power” and then “PowerSettings”.
- Now click on “54533251-82be-4824-96c1-47b60b740d00”.
- And then open “be337238-0d82-4146-a960-4f3749d470c7”.
- Double-click on “Attributes” and change the “Value data” to “2”.
How to Deactivate "CPU Boost"?
- First open the “Start” menu, and type in “Edit power plan”.
- Locate the active plan by the blue circle next to the name.
- Select “Change plan settings” next to your activated plan.
- Now, locate and open “Change advanced power settings”.
- Once in the menu select “Processor power management”.
- Find the option called “On battery” and select “Disabled”.
- Finally select the “Plugged in” option and set it to “Disabled”.
Note: Keep “CPU Boost” active so the frequency and performance of your ROG can be regulated.
4. Update the BIOS

The problem of the ROG ALLY not charging can be caused by a software bug in a BIOS setting, which is meant to prevent the system from overheating. This has happened in the past and has been solved by Asus with a BIOS update. If this issue is occurring Asus will fix it and it will most likely be through a BIOS update. If the ASUS ROG ALLY not turning on after updating BIOS, we can help with that.
Tip: Make sure to back up any important files to the cloud before performing a BIOS update, as this may cause some of them to be deleted.
Follow these instructions to update the BIOS version of your Asus ROG ALLY:
- First open the “MyAsus” application.
- Click on the three lines in the top left.
- Select the “Customer Support” option.
- Now head to the “Live Update” section.
- After that click on the “Update all” button.
- Follow the on-screen steps precisely.
Note: After updating the BIOS the device may restart a few times, this is completely normal and nothing to be worried about.
5. Use the XG Mobile as a Charger
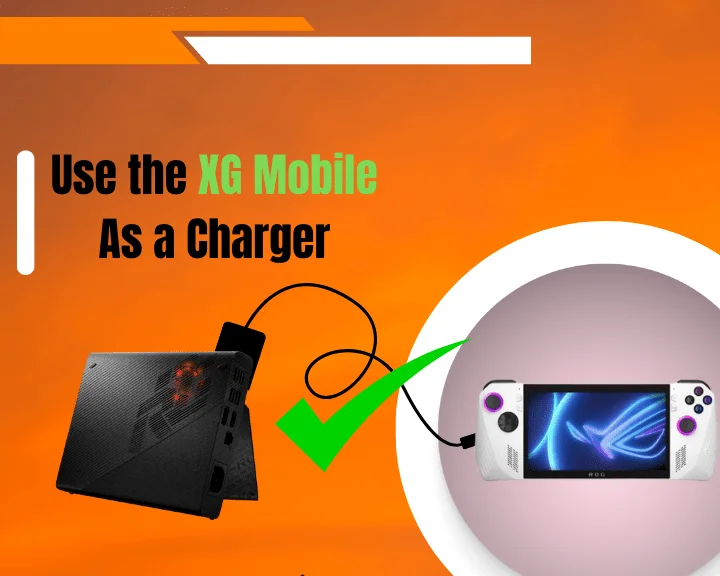
Most people know the XG Mobile as the world’s lightest and most compact external GPU. While this is true it can also be used as a charger, and many people with this issue have reported it working wonders for them.
Here’s how to use the XG Mobile as a charger for your ROG ALLY:
- First make sure the XG Mobile is plugged into a wall outlet.
- Now turn on the ALLY and leave it on the Windows desktop.
- Plug in the provided cable into the top of the Asus ROG ALLY.
- Make sure the LED and Switch are facing toward the screen.
- Flip the switch on the cable, and wait for the LED to turn red.
- Now follow the on-screen prompts and wait for the device to pair.
Tip: For the highest chance of success make sure that you have exited out of all applications and unplugged all other USB devices from the ALLY before starting.
6. Disconnect and Reconnect the Battery
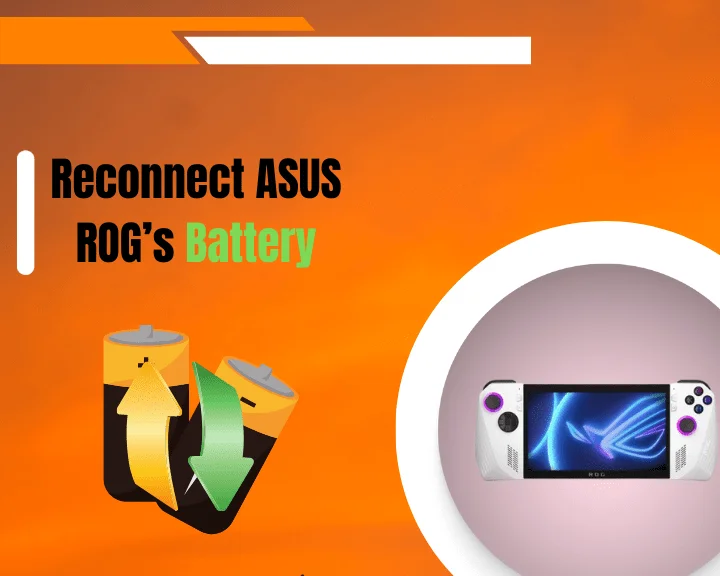
A common issue with Windows based devices, which work with batteries, is a malfunction with the capacitors of the battery itself. An easy way to discharge the capacitors, effectively resetting them, is to unplug the battery, give it time to discharge and plug it back in.
Here are the complete steps for power cycling the battery of your Asus ROG Ally:
- Unscrew the 6 phillips screws located on the back of the device.
- Remove the back panel and locate the cable powering the battery.
- Disconnect the battery cable and wait for around 10 minutes.
- Press the power button a few times to discharge the battery.
- Plug the battery back in, place the back plate on and screw it in.
Also, make sure to not touch or cause any physical damage to the Warranty stickers or “DO NOT DISASSEMBLE” stickers when disconnecting the battery as this will void your warranty making it impossible for the device to be sent to Asus for repairs if there is a hardware issue. If you managed to turn on your console, we strongly recommend making sure that the GPU drivers are up to date!
Let's Recap!
If the Asus ROG ALLY not charging, cycle or disable “Battery Care” mode, use a third-party cable, charge the device using the XG Mobile, disconnect and reconnect the battery, disable “CPU Boost” and update the BIOS.


![How to Play Wuthering Waves on Mac? - [2 Working Methods]](https://gamescopes.com/wp-content/uploads/2024/06/How-to-Play-Wuthering-Waves-On-Mac-Featured-300x240.webp)