The Nintendo Switch Dock is an excellent device for connecting USB accessories and sending the video signal from the Switch to the big TV screen. However, when the Dock is not working, this may take away essential features and advantages from your setup, so let’s solve this today.
Here’s the quick solution:
If your Nintendo Switch Dock is not working, verify the wiring, select the correct HDMI TV source and connect the Dock in a different power socket. Additionally, you may need to clean the power port and test a different output monitor.
Without further ado, let’s jump into the solutions!
Nintendo Switch Dock Not Working - 3 Minutes Fix
The entire guide takes 3 minutes to read, so we recommend going through all steps below:
1. Verify the Nintendo Dock’s Wiring
If some functionalities of your Nintendo Switch Dock are not working, you need to verify that you’re using the correct ports for the respective accessories. There are USB ports, HDMI ports and an AC adapter port, used for connecting external devices, output and Dock accessories.
So, to verify that the wiring of your Nintendo Switch dock is intact, let’s go over the ports and explain exactly what they’re used for and how. Also, we strongly recommend checking whether your charging cable is intact.
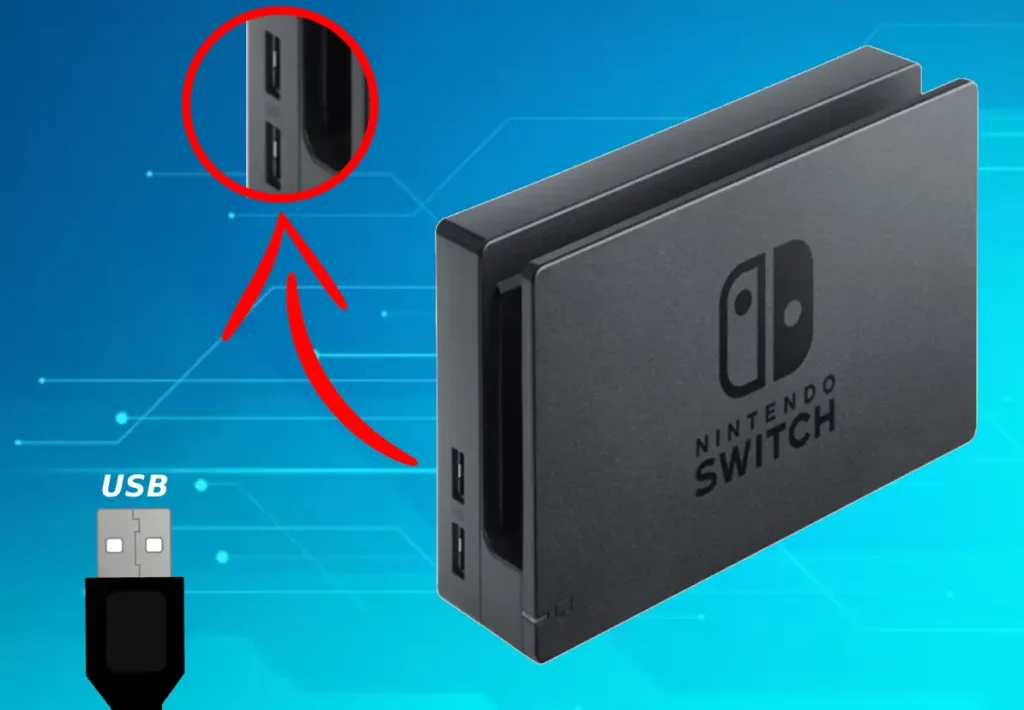
Switch Dock USB Ports:
The USB ports on the Nintendo Switch dock are primarily used for purposes such as plugging in accessories including controllers, USB flash drivers, wired internet adapters and smartphones.
You can connect devices to this port via USB cable, which is a standard one and works with both 3.0 and 2.0 USB ports.
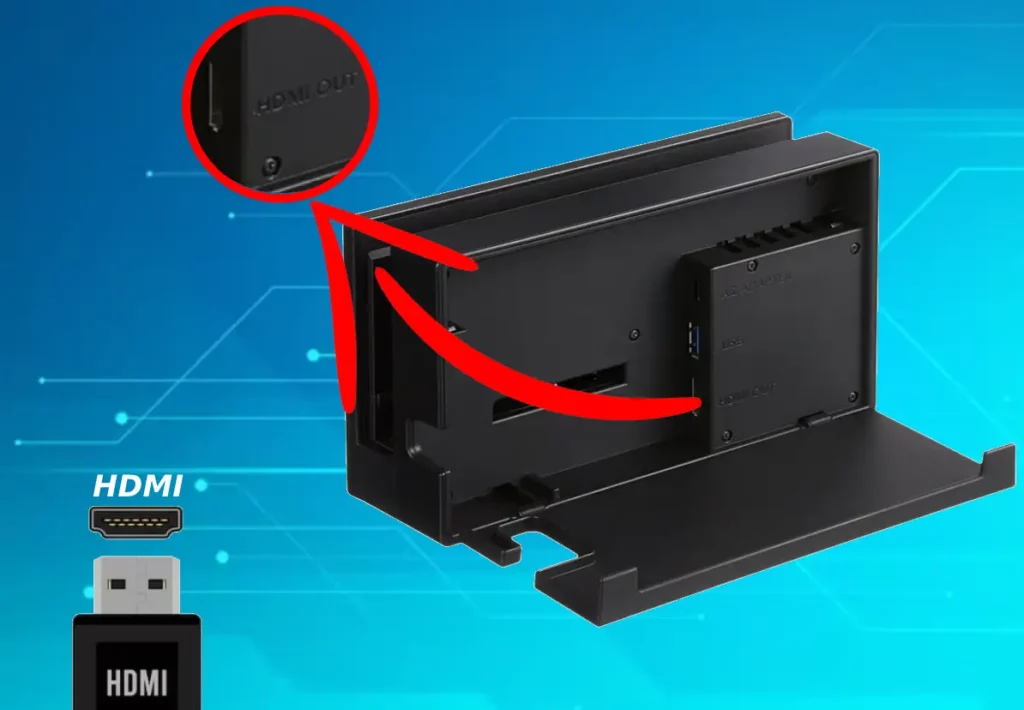
Switch Dock HDMI Port:
The HDMI port is the primary video output on your dock, which is used to transfer video signals to an external monitor such as a television. To use this port, dock the Nintendo Switch, plug an HDMI cable into the HDMI port on the Dock and the other side of the cable into the TV’s HDMI.
The cable used for the connection is a standard HDMI, however for smooth video transfer the cable must be short in length. The recommended length for playing games on your television screen would be 30–50 feet. If your HDMI cable is longer than this, you may face input delay.
Switch Dock Power Port:
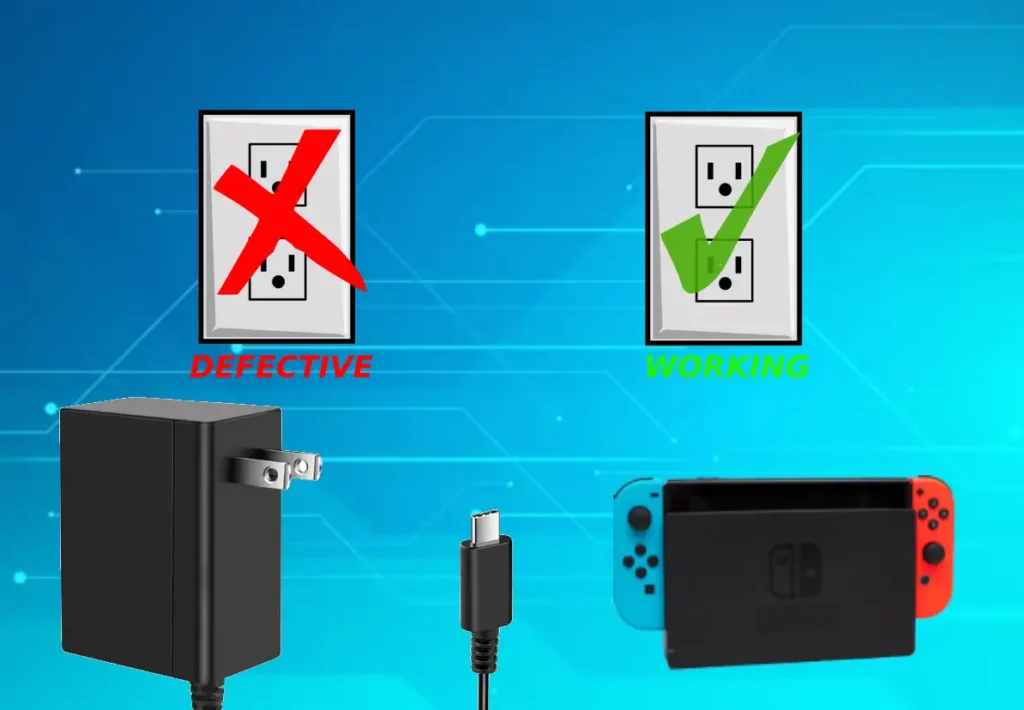
The power port on your Nintendo Switch Dock has only one purpose, which is to connect the device to a power source. We strongly recommend plugging the power cable directly into an outlet, without third-party plugs and electrical dividers to supply the Switch Dock with voltage.
The power cable of your Switch Dock comes with 100 to 204 V with 50/60 Hz 1 A. The adapter plugs into the 120 V home outlet, but may not work well when used in combination with plugs.
Note: If you’re concerned that the power cable could be the culprit, we recommend buying an original Nintendo Switch AC Adapter.
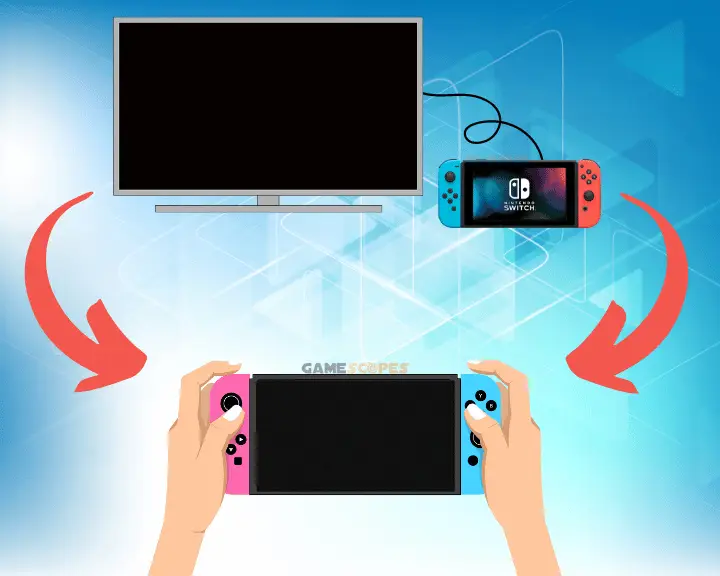
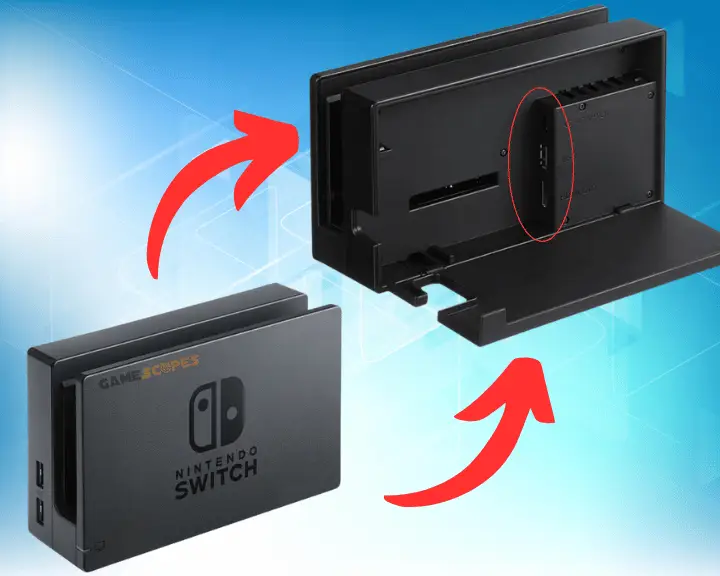
2. Test the Switch in *Handheld Mode*
If you’re concerned that your Nintendo Dock is not working, you should test if your Switch does work in handheld mode. There is no need to enable a mode or anything else, simply undock the switch from the station, and test whether everything is working normally.
If needed, adjust the grip so you can comfortably hold the Switch in your hands, configure the Joy-Con position and verify that your Nintendo console is working well. If you identify that your Nintendo console is not launching games, even when in handheld mode, the problem is likely with the Switch not your Dock.
If the Switch works, but when docked you experience problems, continue reading…
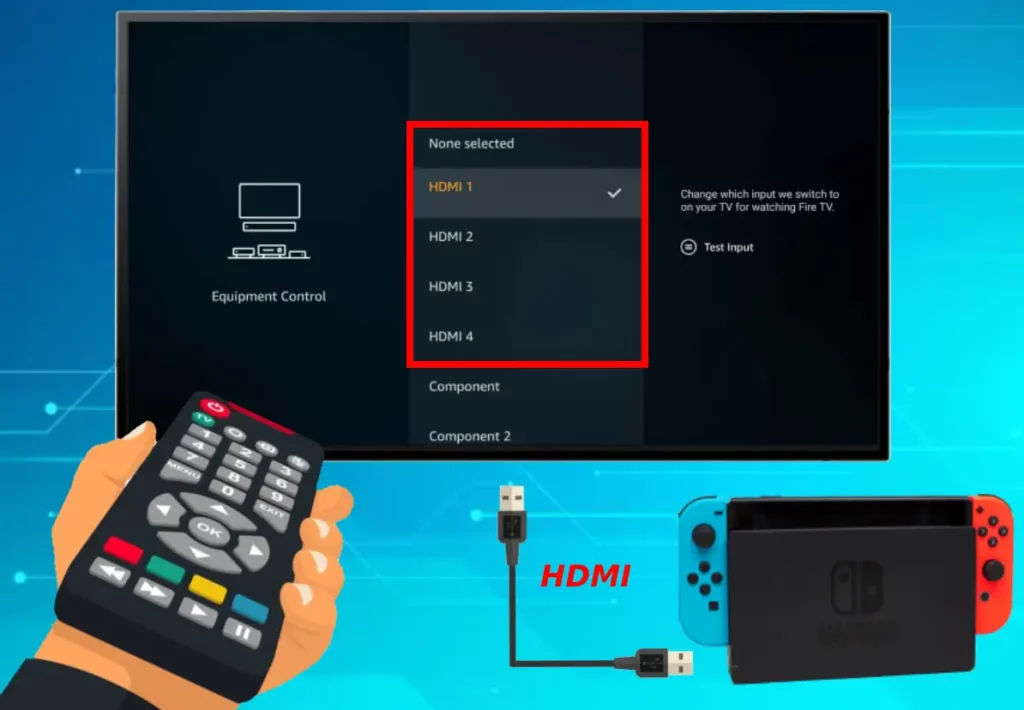
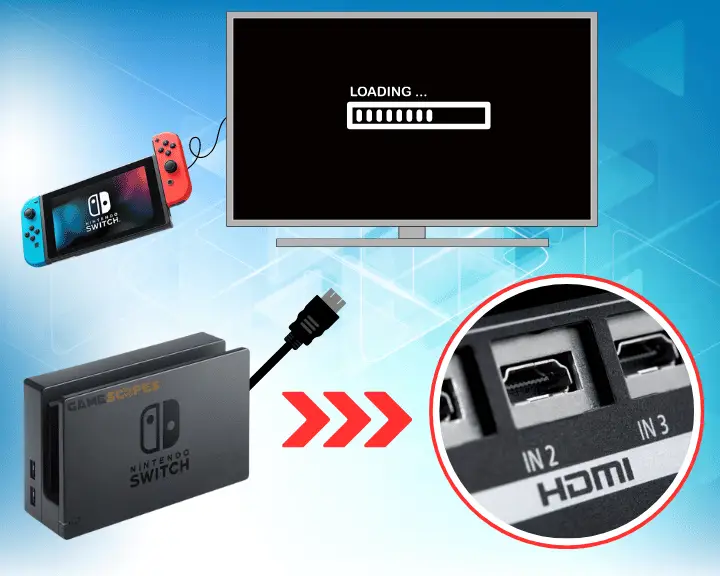
3. Select the Correct Source on the TV
So, if you want to connect your Nintendo Switch to a big screen TV via your charging Dock but the setup does not quite work, you must select the correct source. This is basically saying to the TV which input port to look at, hence you must select the one that your Dock is connected with.
For example, a standard smart or non-smart TV may have up to three HDMI ports on the back and one on the side. That means that you must note in which (HDMI 1, HDMI 2, or HDMI 3) the Nintendo Dock is connected to via HDMI cable, and select this source from the TV input menu.
To access the sources on most TVs, press the “Source” or “Inputs” remote button!
However, if your TV doesn’t have such a button on the remote, go to Settings, and locate the Inputs or Sources menu, from where you’ll be able to select the correct HDMI. When you do this, the output from your Nintendo Switch dock should immediately appear on the TV screen.
Tip: If you can’t see the output even with the correct TV sources selected, we recommend trying a different HDMI port (or multiple ports).
4. Plug your Dock in Different Socket
One of the crucial aspects, especially whenever your Nintendo Switch Dock not turning on, is the power outlet used for supplying the Dock with electricity. Well, obviously, when the power socket is not working correctly, or the current is fluctuating, your Dock may be turning on and off constantly, preventing normal operation.
So, the quickest way to rule-out this possibility would be to connect the power adapter of your Nintendo Switch to a different outlet. That’s quick and easy, and will help you determine whether the Nintendo Switch Dock does not work because of the AC socket, or due to something else.
If you identify that your Nintendo Switch is not turning on after update, the problem is definitely not in your Dock, but rather with the console itself.
Important: Plug the power adapter of your Nintendo Switch Dock directly into the socket, without third-party extenders, plugs and dividers.
5. Clean the Dock’s Input/Output Ports
Well, if your Nintendo Switch Dock not working even with multiple power sources, it’s likely that the ports are obstructed. So, cleaning the power, HDMI and USB ports could be the perfect way to resolve issues on your Dock related to the video connection, data transfer or power supply.
So, for cleaning the ports, we’re going to only use dry tools!
Here’s what you’ll need:
A toothpick
An ear stick
Compressed air
Here how to safely clean the ports on your Nintendo Switch Dock:
First, disconnect your Nintendo Switch Dock from the source.
Via a toothpick, reach within the USB, HDMI and Power ports.
Gently scrub the dust accumulation from the ports side/bottom.
Use the compressed air to get the scrambled debris inside out.
Then, using the ear stick, collect any remaining dust or debris.
Using the can of compressed air, give it a few powerful blows.
Quick Tip: Alternatively, blow with your month against the ports.
When the input/output ports on your Nintendo Switch dock are clean, feel free to test whether the same problem will persist. If yes, we recommend checking if your power cable is working.
Important: Also, apply some dry cleaning on the connectors of your Power and HDMI cables!
6. Soft Reset the Nintendo Equipment
Yet, another quick and effective solution against Nintendo Switch Dock problems would be to soft reset or “power cycle” your entire equipment. The soft reset is not a factory reset, hence it won’t delete anything from your Nintendo Switch or TV.
The power cycle is a simple discharging procedure that only refreshes the hardware, reboots the operating system and restarts all services.
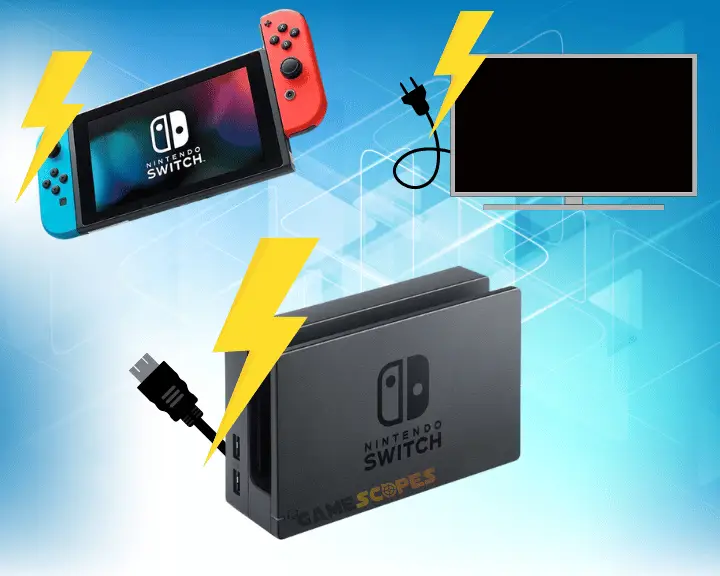
In your Nintendo Switch Dock setup, you must have several devices:
Nintendo Switch console
HDMI TV, or input monitor
Nintendo Docking Station
So, straightforwardly unplug your HDMI TV and Nintendo Dock from the power supply to turn off the devices for a while. In the meantime, on your Switch go to the Menu → Power Options and select “Power Off”, which will shutdown your console as well.
Tip: In order for the soft reset to be effective, keep the equipment off for at least 60 seconds!
7. Test the Dock in Different HDMI Port
Well, you may be deceived into thinking that your Nintendo Switch Dock not working, while the problem could be coming from your output monitor. Let’s say you’ve docked your Nintendo, the HDMI cable is plugged into your TV, but the screen is completely blank and nothing appears.
Well, it may seem that your Nintendo Switch Dock is not working, but the actual culprit may be the HDMI port on your TV. Typically, TV’s have multiple HDMI ports, including 2–3 on the back and at least one on the side of the TV.
Since the one on the side is the most-frequently used HDMI port, we strongly advise connecting the Nintendo Dock to one of the back TV HDMI ports. If needed, try multiple ports to check if the feed from your Dock will finally appear on the TV screen.
Quick Tip: If this doesn’t work, we recommend trying to connect the Nintendo Switch Dock with a replacement (proven-to-work) HDMI cable.
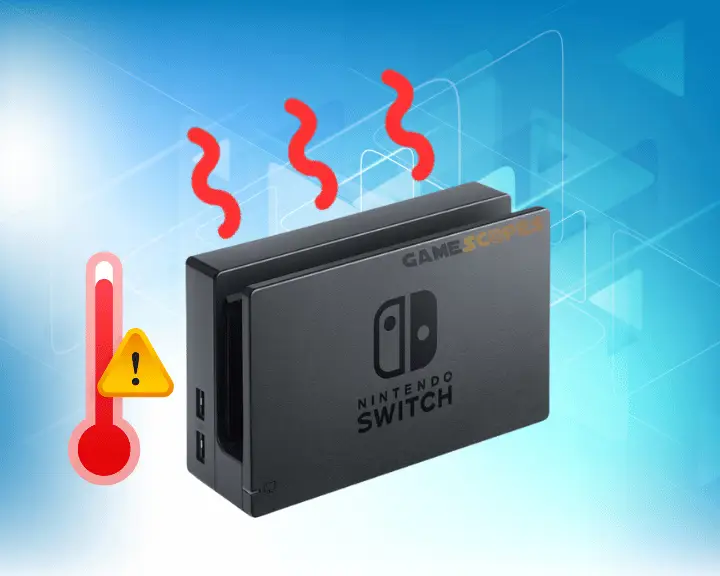
8. Prevent the Dock from Overheating
Another reason why the Nintendo Switch Dock is not working would be due to overheating, which is rare for the Dock itself but not excluded. Hence, if you’re using the Dock near heat conductors, under direct sunlight exposure, or other extreme temperatures, the device may suddenly shut off until the hardware is acclimatized.
So, we strongly recommend leaving your Nintendo Switch Dock unplugged for at least one hour, for the hardware components to return to room temperature. This may take a few hours, so if you suspect that the Nintendo Switch Dock is overheating, cool it down and clean the ventilation openings. If your Dock, is overheating, external devices such as connected microphone won’t work.
Note: If your Nintendo Switch Dock vents are clogged, the device may occasionally overheat!
9. Connect Dock to a Different Output
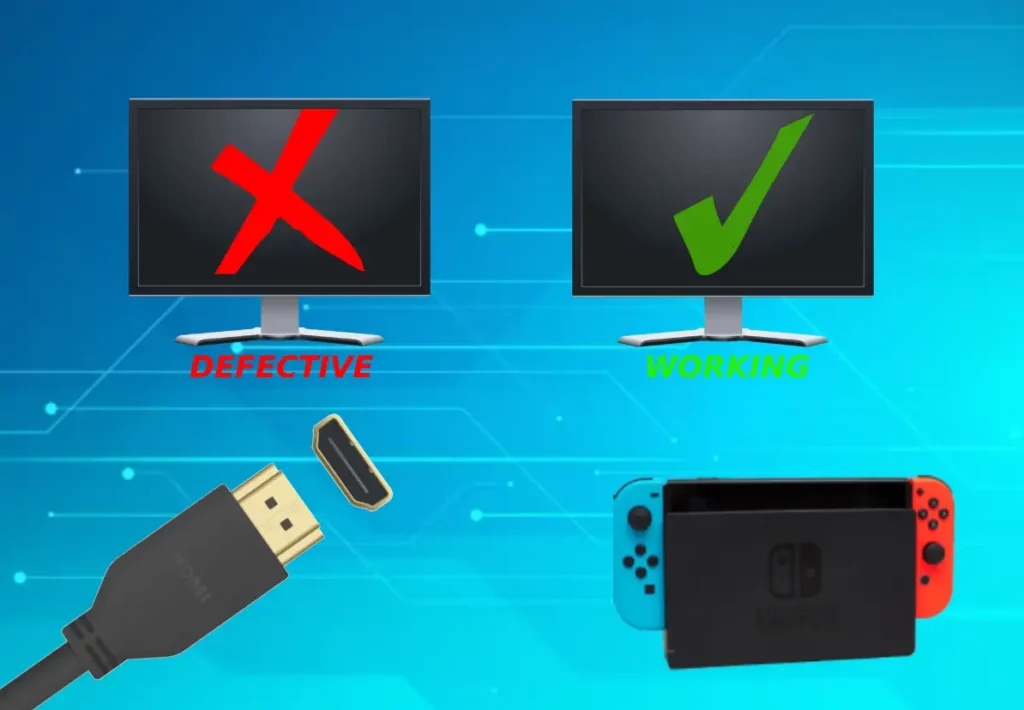
Well, if your Switch Dock is still not working, perhaps the problem comes from your TV or the currently used output monitor. Therefore, one way to rule out most of the possibilities would be to connect your Nintendo Switch dock to a different output monitor and check if it’s working.
You can connect your Nintendo Switch Dock to any output monitor that supports an HDMI input port, such as TVs, computer monitors and more…
If your Nintendo Switch Dock does not work even on multiple input monitors, sadly, there may be a hardware defect, which requires professional attention. So, we recommend checking the device’s warranty or contacting the local merchant for reclamation and hopefully a replacement.
Did you know that you can stream your Nintendo Switch gameplay live? If not, check this guide!
Conclusion: Why Nintendo Switch Dock Not Working?
Hence, if your Nintendo Switch Dock is not working, check the wiring, switch the power socket, and replace the power adapter. If your Dock is not connecting to TV, select the correct source, switch to a different HDMI cable and test with a different output monitor.
Hey there, fellow gamers! I'm the wordsmith behind GameScopes.com with near a dacade of experience in games and troublehsooting gaming devices. I am here to share my true passion and help everyone in the gaming industry.