


Having issues with HDSLVC2 error oculus quest 3? Keep reading for the best solutions!
Navigation Table
Toggle
Although the Oculus Quest 3 is the latest and greatest VR headset from Meta, there have been issues like the aforementioned error. This guide will show you all the possibilities for why it is occurring and the best and easiest solutions to solving this infuriating issue.
When getting the HDSLVC2 error, reboot the Wi-Fi router, connect to another network or hotspot, synchronize Meta and Facebook accounts, update the firmware, reboot the Oculus, open the affected game from the mobile, and perform a factory reset.
This issue is complicated, so let’s get started!
Why is Oculus Quest 3 Error HDSLVC2 Occurring?
The first step to solving this error is understanding what could be causing it. Because of this, we have compiled a simple list of reasons for this issue that is easy to understand!
Here is a list of possible causes for the quest 3 error:
- Issues with Facebook and Horizon account linking.
- There is an error with the Wi-Fi network connection.
- Software issues due to an outdated firmware version.
- Issues with the in-built Oculus game store application.
- The Meta Oculus servers are experiencing issues.
Important: Test Wi-Fi Network!
Before proceeding be sure to check your broadband connection by using another device, connected to the same network the Oculus Quest 3 is connected to. Such as a PC or Laptop using an Ethernet cable with a strong connection.
HDSLVC2 Error Oculus Quest 3 - Quick Fix
Tip: Follow the troubleshooting solutions in the written order!
1. Power Cycle the Quest 3 Headset
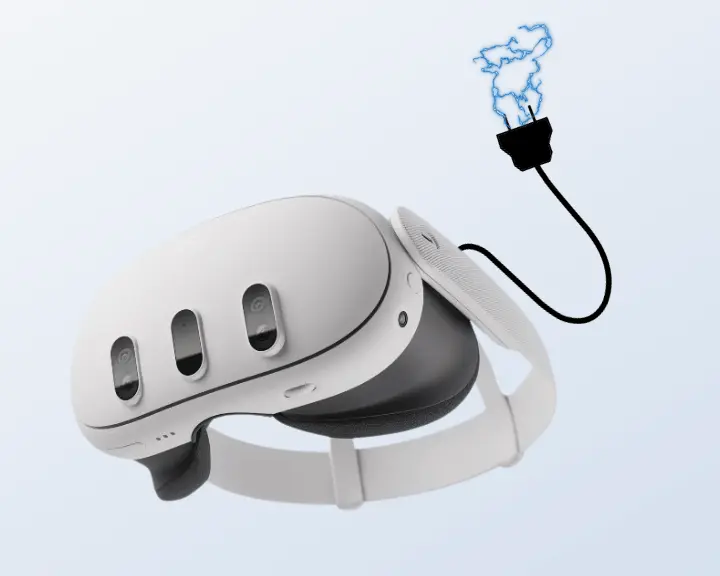
The first solution to this issue is to perform a hard reboot of the device. This will make sure that any error which may have occurred in the system software is eliminated. Doing this is extremely fast and easy. There are 2 methods of achieving this a “Soft” and “Hard” reboot.
How to perform a Soft Reboot?
- First, put on the Oculus Quest 3 headset and power it on.
- Next, hold down the power button on the right of the device.
- Once the “Power Off” screen shows up then select “Restart.”
How to perform a Hard Reboot?
- Hold down the power button for about 10 seconds.
- After the device has turned off wait for half a minute.
- Finally, hold the power button until the device turns on.
Tip: Be sure to save any progress in games before performing a reboot as this will erase it.
2. Synchronize Your Accounts
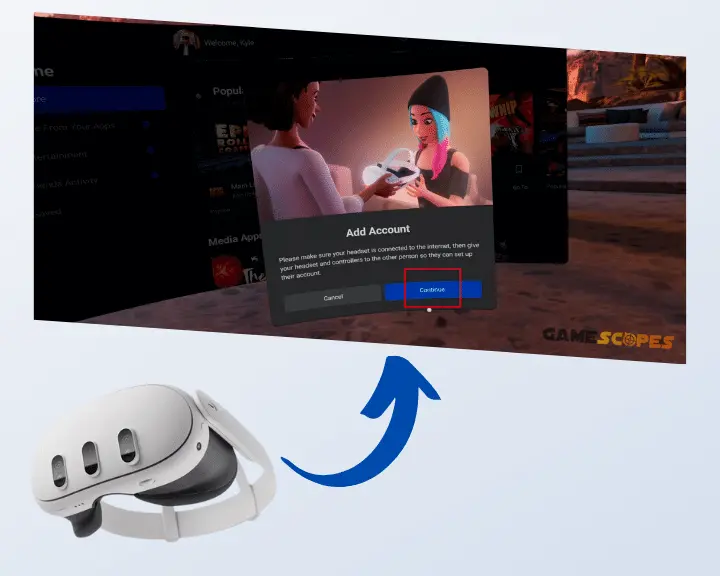
This error could also be related to an issue with users who were prompted to swap from a Facebook account to a Meta Horizon account. It is unknown exactly why this has caused so many issues but the solution is, and that is synchronizing the accounts in the Quest 3.
How to synchronize both accounts:
- First, press the Oculus button located on the right controller.
- Next, locate the clock in the universal menu and hover over it.
- Once the “Quick Settings” menu appears, click on it to open it.
- After that find the “Settings” button in the top right of the screen.
- Now select the “Accounts Center”, and then select “Profiles”.
- Next, select your Meta Profile and then select it again at the bottom.
- The last step is to toggle the “Sync profile info” so that it lights up.
Enabling this option will make it so that all your account settings are also linked. For example, changing your profile picture on Facebook will also update the Meta Horizons one.
3. Power Cycle the Wi-Fi router
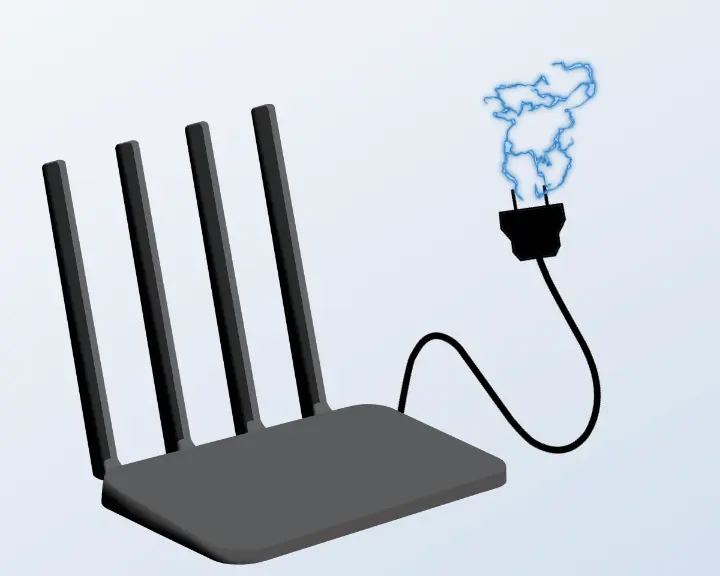
Launching applications from the Oculus Store requires a stable internet connection. If you have tested your connection and are having issues power cycling the network router is a quick and simple solution to solving any connectivity issues that may be causing this error.
How to power cycle your Wi-Fi device:
- Find the Power button usually located on the back or side.
- Next, press it and wait for around 30 seconds to a minute.
- Now simply press the Power button and turn on the device.
- Wait an extra 2-3 minutes before reconnecting to the network.
Tip: If you cannot locate the power button, removing the power cable from the device is a suitable substitute and is in fact recommended to do while the device is powered down.
4. Update the System Firmware

The HDSLVC2 Oculus Quest 3 error may be caused by a network issue, this could also also be cause by an out-of-date system software version. Updating the firmware is the simplest way to ensure your Quest 3 has the latest software version with all bug fixes implemented.
How to update the firmware version of the Quest 3:
- First press the Oculus button on the right controller.
- Second, select the Setting button from the pop-up menu.
- Now head to “System” and then select “Software update.”
- Finally next to “Software Updates” click on the update option.
Tip: In order to prevent any further issues from occurring it is recommended to toggle ON the automatic software updates option located in the Oculus mobile application.
5. Connect to the Mobile Hotspot
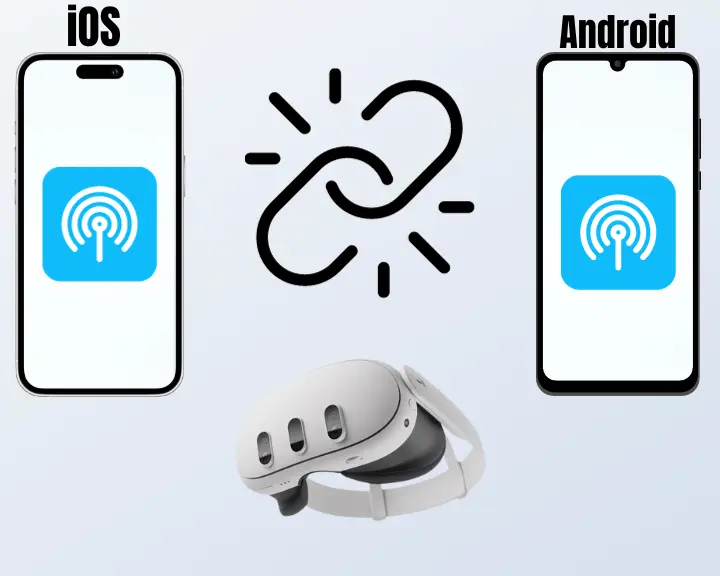
If you have tested the Wi-Fi network and found and found that it is working as intended, it might be a good idea to test the Quest 3’s network connection using another network such as a Mobile Hotspot. This is simple to do so let’s get right to it!
How to create a Mobile Hotspot on iPhone?
- First, open the settings application.
- Next, select “Personal Hotspot.”
- Finally, toggle “Allow others to join.”
How to create a Mobile Hotspot on Android?
- Locate and open the settings app.
- Next, go to “Network and Internet.”
- Then go to “Hotspot and tethering.”
- After, that open “Wi-Fi Hotspot.”
- And toggle ON the option for it.
How to Connect Quest 3 to Mobile Hotspot?
- The first step is to open the Settings menu
- Second, locate and click on the “Wi-Fi option.
- Next, find your Mobile hotspot from the list.
- Last, click Connect and enter the password.
Tip: For the best possible results make sure that nothing else is connected to the hotspot while attempting to connect using the Oculus Quest 3.
6. Reset the Affected Applications
Downloading the affected application the Meta mobile app is a surefire way to ensure that any errors that could be affecting the application are dealt with. Doing this is very simple and doesn’t take long at all, so let’s see how to do exactly that.
How to Uninstall Apps from the Oculus 3?
- First, press the Oculus button on the right controller.
- Next, click on the “App Library” on the far right.
- Now, find the desired app and click the three dots.
- After that click on the button labeled “Uninstall.”
- Finally, select the option called “Uninstall” again.
How to Install Apps from the Mobile App?
- First, open the Meta Quest app.
- Now click on “Store” at the bottom.
- Select the app you want to install.
- And, tap the button to buy or install.
Tip: Make sure you have a stable internet connection before attempting to download any application for the highest success chance.
7. Factory Reset the Oculus Quest 3

The last solution to this problem is the nuclear one, resetting the Oculus Quest 3 headset to factory settings. This will delete all the data on the device and restore it to the way it was when it came out of the factory, ensuring it will be working perfectly fine.
How to factory reset the Oculus 3 in easy steps:
- The first step is the turn OFF the Quest 3 device.
- Next, hold the power and volume down button.
- After that, wait for the boot screen to appear.
- Use the volume buttons to select “Factory reset.”
- Finally press the power button to confirm.
Tip: Be sure to back up any data you do not want to lose before factory resetting your device.
Final Thoughts:
If the HDSLVC2 error Oculus Quest 3 is occurring synchronize accounts, power cycle WiFi, reboot the device and factory reset the device. Also update the firmware, download the affected app from mobile, and connect to a mobile hotspot or other WiFi.
Related Articles:
- Oculus Quest 3 Games Crashing on Startup? – Quick Fix Guide
- Oculus Quest 3 Not Charging While Playing? – (Easy Guide)
- Oculus Quest 3 Glitching Out? – (Instant Solution Guide)
- Oculus Quest 3 Controllers Not Charging – Easy Ways to Fix
- Oculus Quest 3 Stuck On Pairing Screen? – Quick & Easy Fixes
- Oculus Quest 3 Won’t Connect to WiFi? – 8 Best Ways to Fix
- Oculus Quest 3 Not Showing in App – 6 Beast Ways to Fix
- Oculus Quest 3 Not Connecting to PC – 9 Quick Solutions