

Having issues with Oculus Quest 3 Not Connecting to PC? Well don’t worry, all you have to do is follow our quick, easy and effective troubleshooting guide, and you’ll be back in the world of virtual reality in no time!
Navigation Table
ToggleWhen encountering an issue with the Oculus Quest 3 Not Connecting to PC, restart your gaming system, Oculus app, and Headset. If the issue has not been resolved, attempt to update the Oculus Quest 3’s firmware or your GPU drivers.
There is a lot to this topic so let’s start right away!
Why Won't My Oculus Quest 3 Connect to my PC?
There are many reasons as to why Oculus Quest 3 not connecting to PC, and understanding all these different problems and solutions is essential to having a good experience using the Quest 3. The first step to doing exactly that, is to review all possible causes for this issue!
Here are all the different things which may be causing this infuriating problem:
- Your PC does not meet the minimum requirements for the Quest 3.
- The Oculus Quest 3’s firmware is out of date.
- The GPU’s driver is outdated.
- There is an issue with the setting of your USB ports.
- The headset’s Air Link is causing connectivity issues.
Let’s learn more about Oculus Quest 3’s “Air Link” feature!
What is the “Oculus Air Link”?
The Oculus Air Link allows users to use their VR headset without having to worry about bulky and easy to trip on cables. It uses a secure Wi-Fi connection to make this happen, which could cause some issues when switching back to wired mode.
If your Oculus Quest 3 not connecting to PC, keep reading!
Oculus Quest 3 Not Connecting to PC - Solved
Tip: Follow the listed solutions in consecutive order to avoid unnecessary steps!
1. Check the Minimum System Requirements
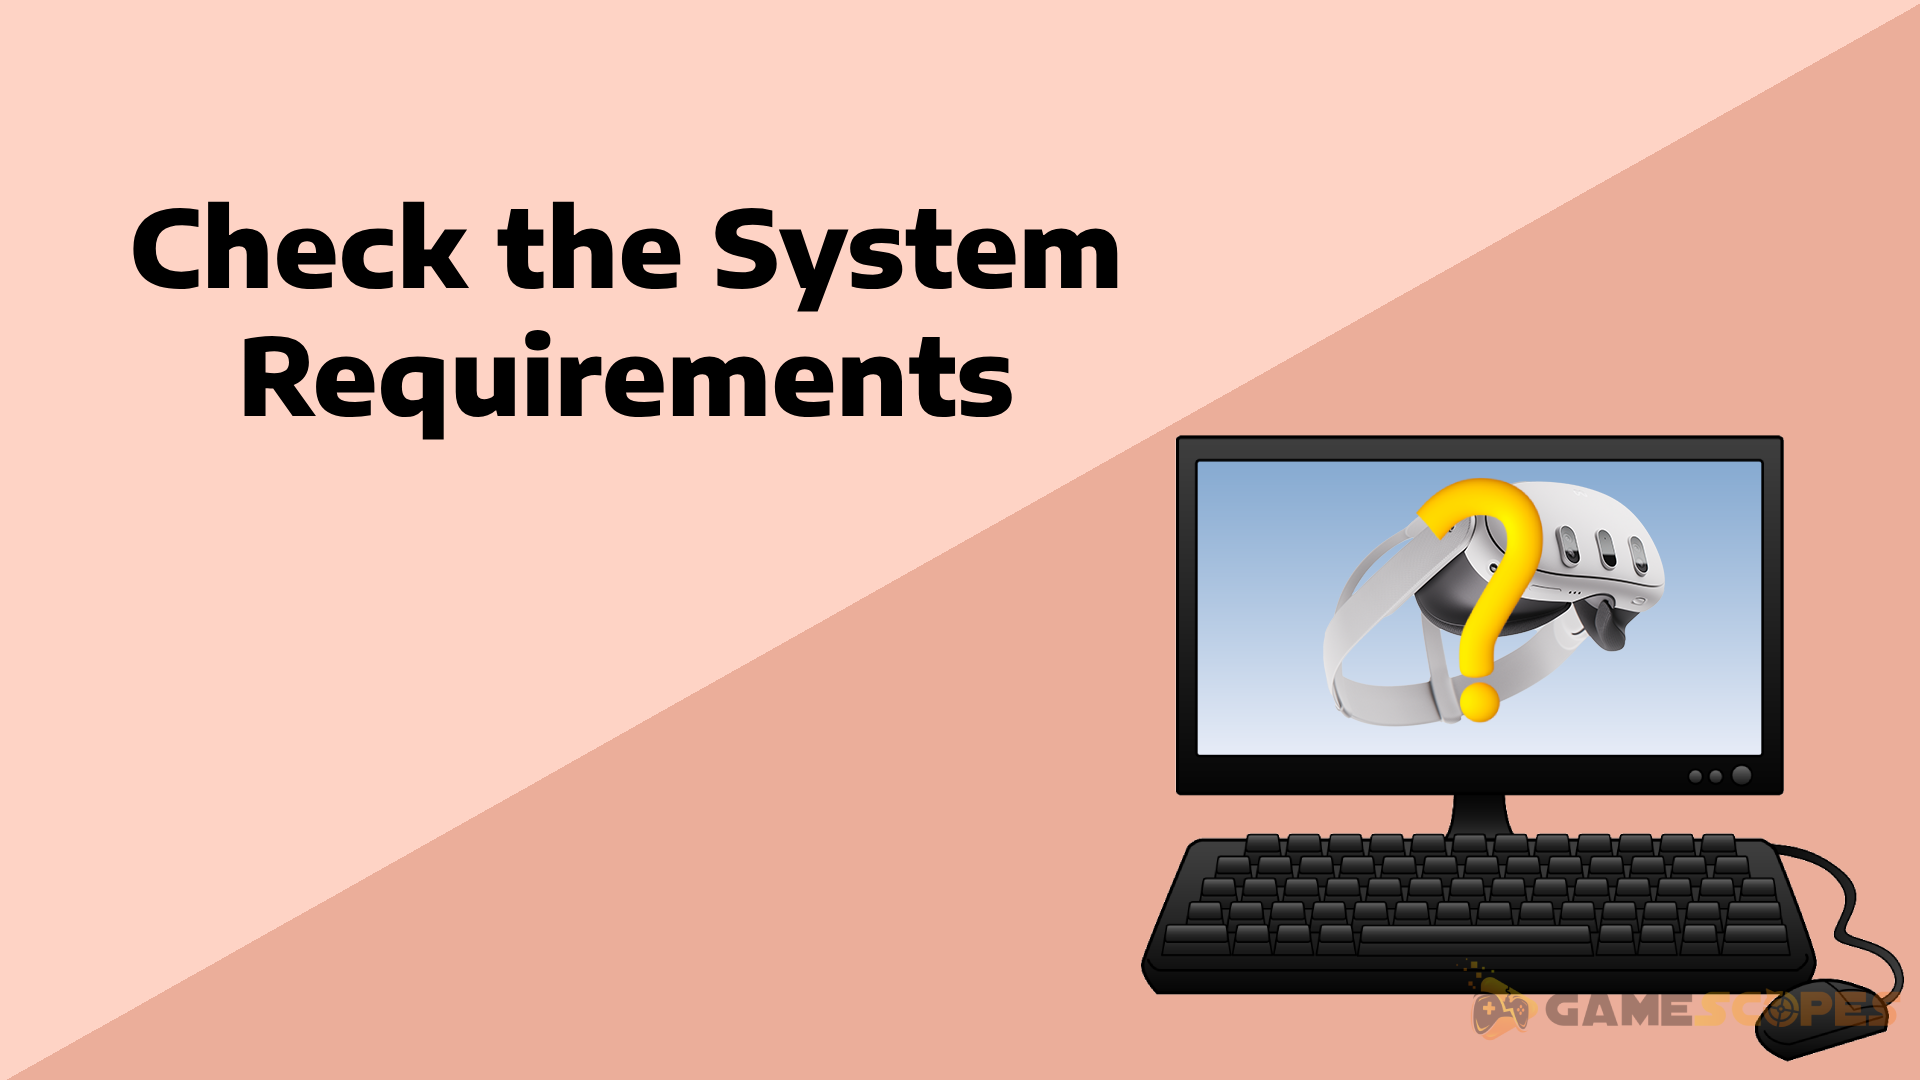
The reason as to why the Oculus Quest 3 not connecting to PC, could be your that your machine is not meeting the minimum system requirements.
Below we have listed the minimum specifications your PC must meet in order to connect to the Quest 3:
- OS: Windows 10 or above
- USB Port: USB 3.0
- GPU: GTX 1060 (6GB)or better, AMD 400 series or better
- CPU: Intel i5-4590 / AMD Ryzen 5 1500X or greater
- Memory: 8GB or more
If you are sure your pc meets these requirements please proceed with the next solution!
2. Restart your Computer
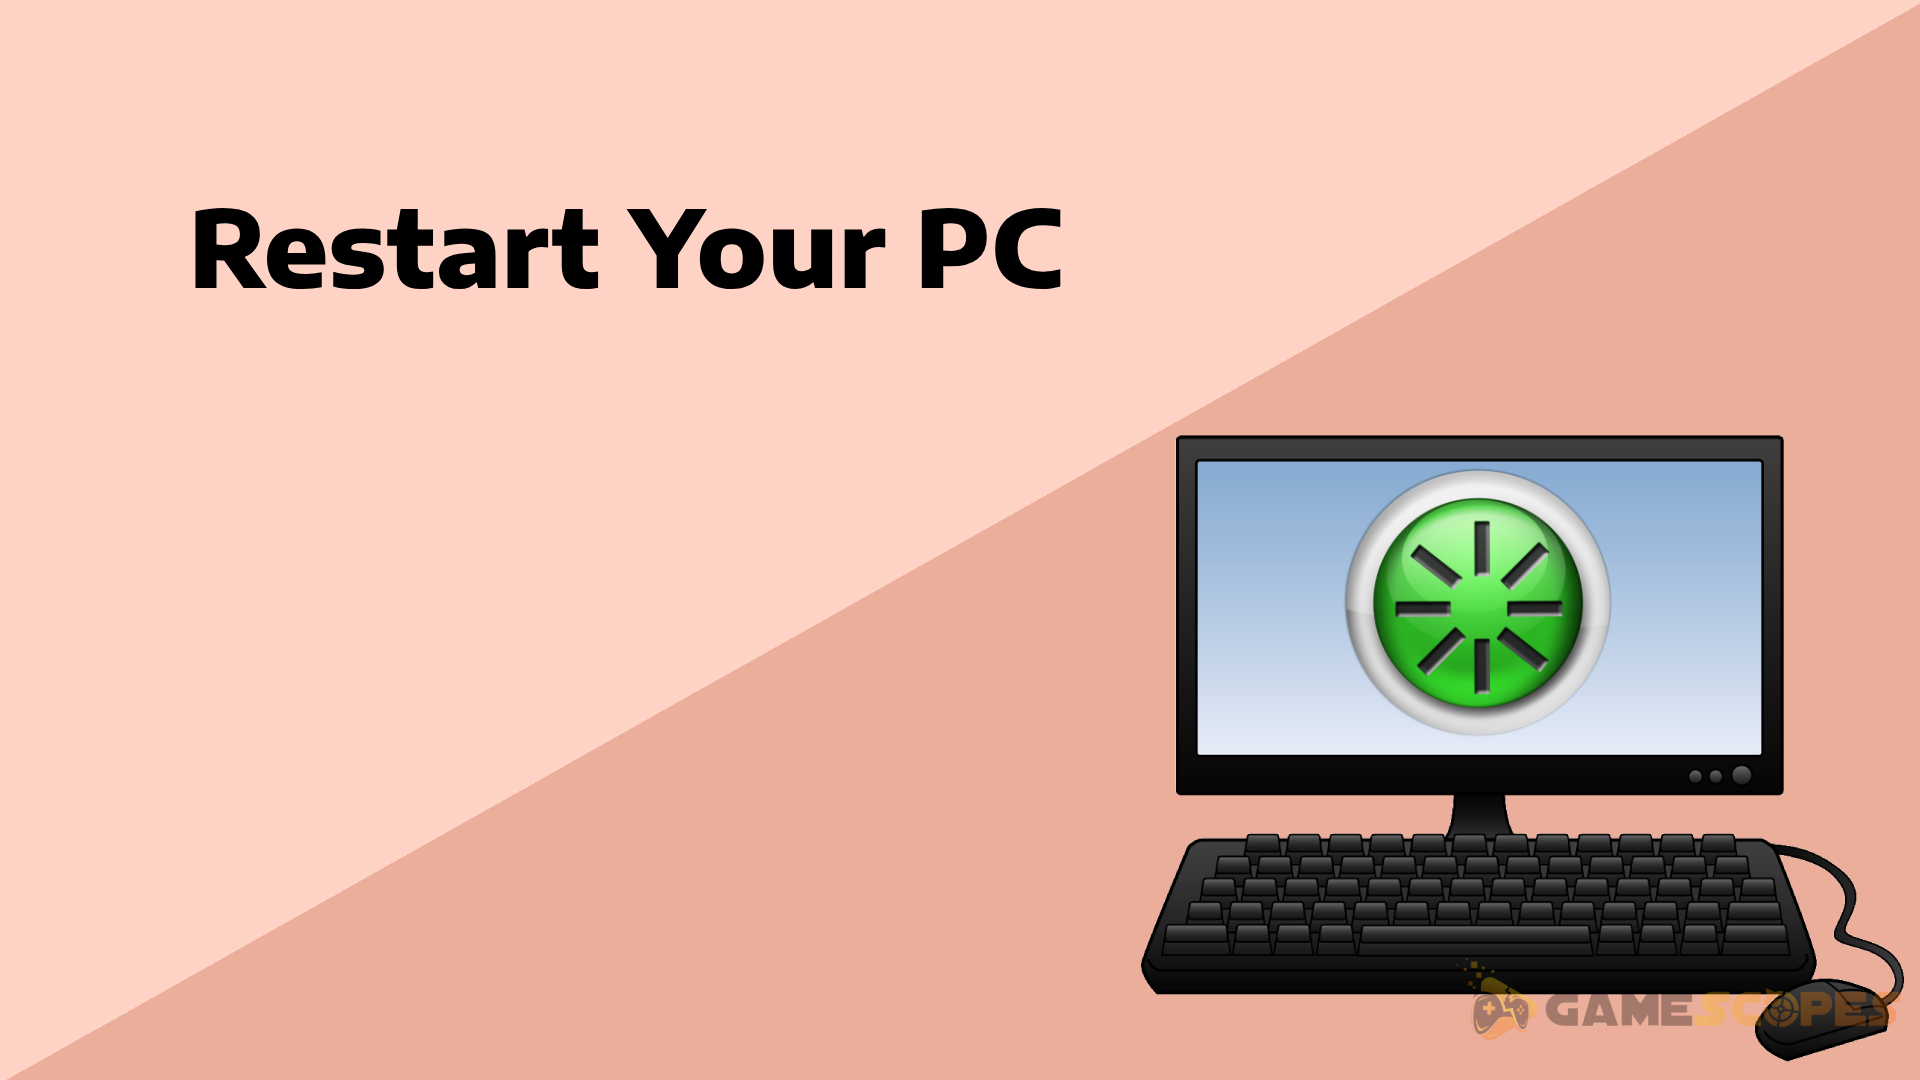
Sometimes a complicated such as Oculus Quest 3 not connecting to PC, could be solved with a simple solution such as a quick restart. A restart may fix this issue because it resets the processes and software which may be causing connectivity issues between your PC and the Oculus Quest 3!
Here is how to do just that!
- Press the Windows key on your keyboard or Click on the Windows logo on your taskbar to open the start menu.
- Select the “Power” menu.
- Click on “Restart” and accept “Restart anyway” if the option appears.
Restarting your PC is not the only thing that could benefit from a quick and easy fix!
3. Restart the Oculus app

As stated before a software error could have occurred within the Oculus app making it impossible for a connection to be established. This will cause Oculus Quest 3 not connecting to PC, and can be resolved very easily by following these simple steps!
How to restart the Oculus app:
- Open Task Manager by pressing CTRL + Shift + ESC, or by right clicking the taskbar and selecting “Task Manager”
- Locate the process called “Oculus VR Runtime Service” or “OVRService”
- Right-click on it and select “End task”
- Relaunch the Oculus Mobile Application.
After exiting the Oculus application on your mobile device, remove it from the temporal memory before re-launching. This will remove the temporal app cache generated by the application and resolve data-related functionallity issues.
4. Power Cycle the Oculus Quest 3

Another solution when Oculus Quest 3 not connecting to PC, is power cycling the headset, turning the headset OFF and then turning it ON will help fix any errors which may have occurred, and will relaunch all the in-built software, solving any issues with connectivity.
Follow these steps to power cycle the Quest 3:
- First verify that the headset is powered on.
- Next locate the Power button on the right side of the device.
- Press and hold the power button until a Power off screen shows up.
- Select the “Power off” button using the touch controller.
- Wait for 30 seconds before using the Power button to turn ON the device.
Note: Verify that the Oculus Quest 3 is charged to full battery capacity.
5. Update the Oculus App

Updating the Oculus app may help resolve any issues when Oculus Quest 3 not connecting to PC. You may have missed an update that was essential for connecting to your PC and now you are stuck.
Do not worry, here is how to update the Oculus software:
- Visit the “Oculus support page.”
- Locate your device’s page and select “Download Software.”
- After installing the setup file simply follow the steps and you will have the newest version of the Oculus software.
Note: Updating the Oculus app requires stable and reliable internet connection.
6. Download the Latest Video Drivers

An outdated graphics card driver may be the source for the issue where Oculus Quest 3 not connecting to PC. Checking for updates and subsequently updating said graphics drivers is a straightforward solution which works wonders!
Here is how to update your GPU drivers:
- Open device manager by opening the search bar and typing “Device Manager.”
- Open the “Display adapters” tab.
- Right click on your graphics card and select “Update driver.”
- Next select “Search automatically for drivers.”
If there is a newer version of your GPU drivers they will be installed and resolve the issue with Oculus Quest 3 not connecting to PC!
7. Deactivate "Air Link"
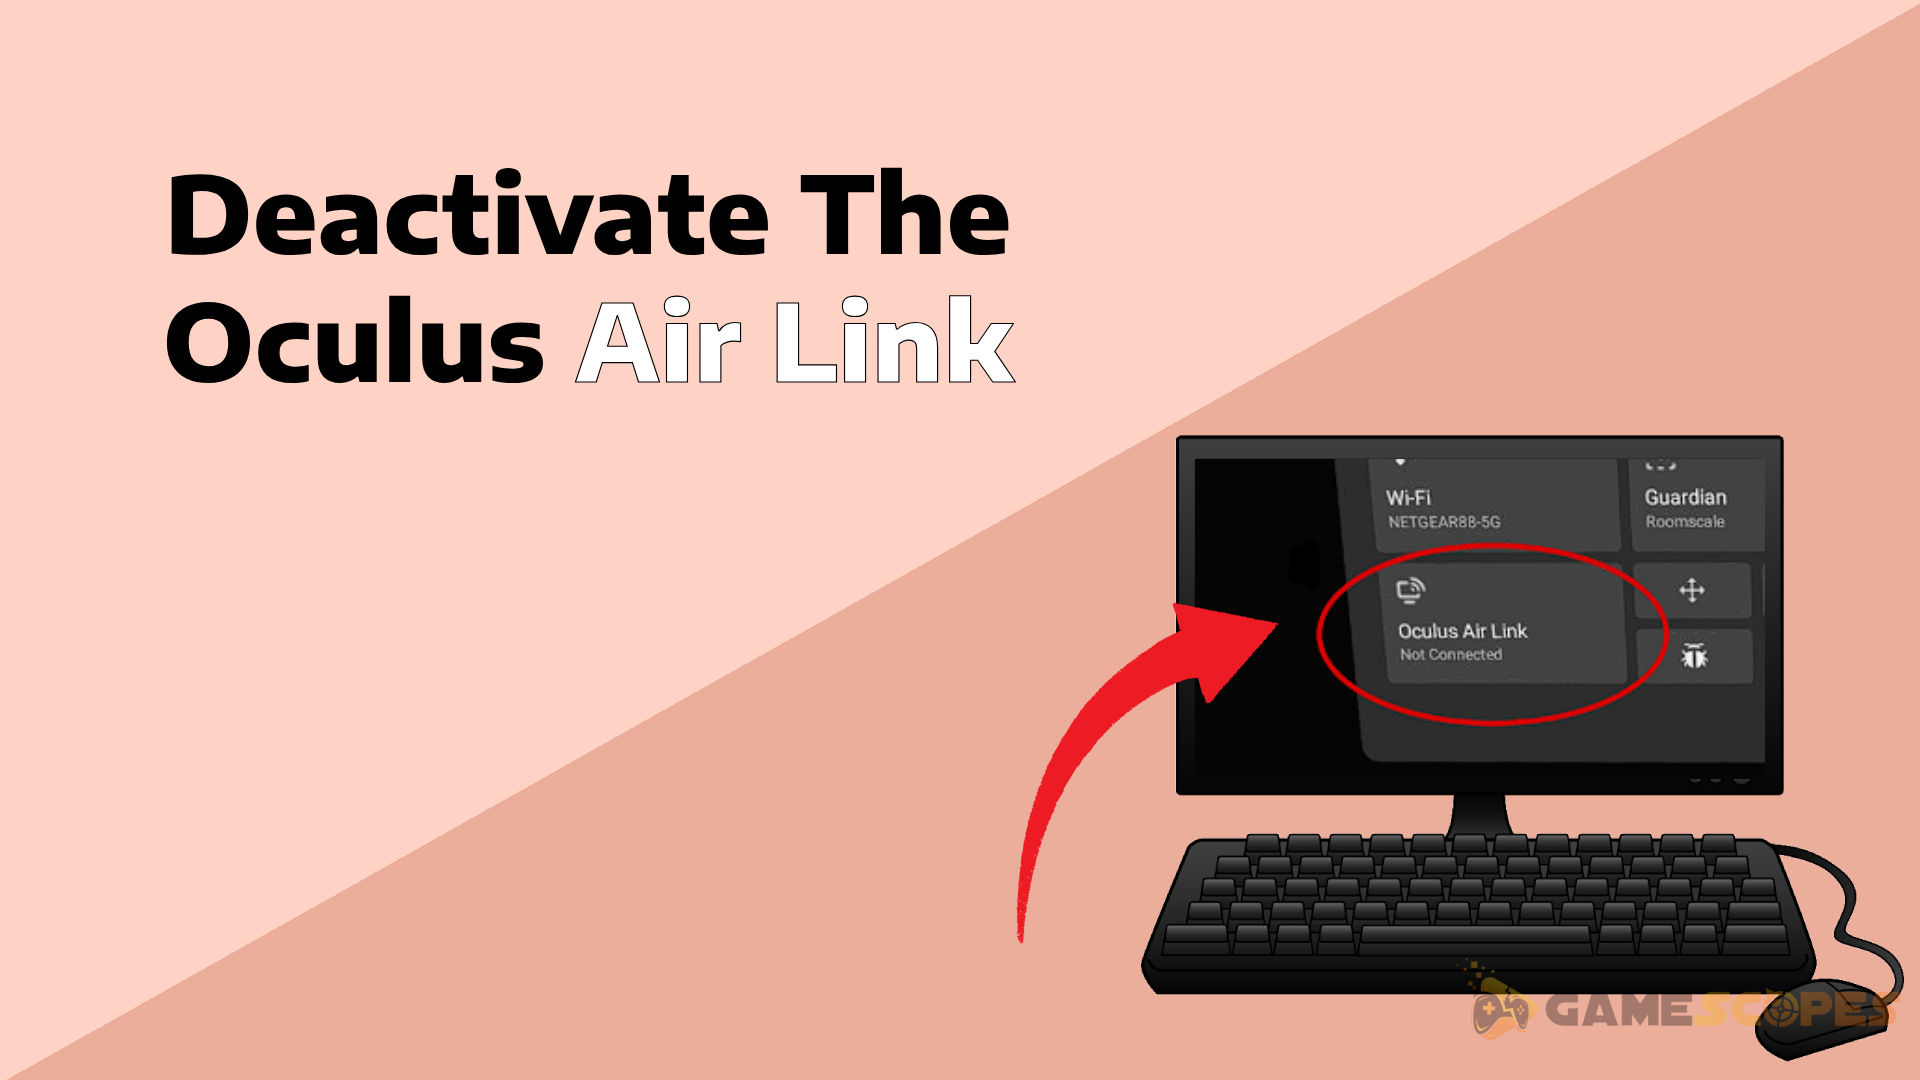
When switching from Air Link to a wired connection it is possible for an error to occur in the software causing issues such as Oculus Quest 3 not connecting to PC.
This is easily solvable by simply disabling Air Link
If your Oculus Quest 3 won’t connect to PC, here’s how to disable Air Link:
- Open the universal menu by pressing the “Oculus button.”
- Navigate to the settings menu.
- Go to the “Experimental” tab.
- Deactivate the “Air Link” feature.
The “Air Link” feature is specific to the newest Oculus Quest and supports wireless connectivity as mentioned. If you wish to connect the Oculus headset to your computer via the wired method (Oculus Link cable), you must alter the preference in the headset’s settings.
8. Disable the USB Power Saver Feature

The Quest 3 headset may not be getting power if you are using a wired connection because of a USB port setting: “Allow the computer to turn off this device to save power.”
The name implies this allows your PC to turn off the device at will, making it impossible for it to connect to your PC.
So, if your Oculus Quest 3 not connecting to PC, follow the steps below:
- Open Device manager by opening the “Run” menu by pressing the Windows key on your keyboard and R. Then typing “devmgmt.msc” and pressing OK or by the previously mentioned method using the search bar.
- Select the “Human Interface Devices” tab by double clicking it.
- Right click on the “USB input device” and select “Properties.”
- In the “Power management” tab select “Allow the computer to turn off this device to save power” and turn it off.
Now your Oculus Quest 3 will be constantly supplied with power!
9. Factory Reset the Oculus Quest 3

If all else fails and Oculus Quest 3 not connecting to PC, the final solution is the nuclear one. Factory resetting a device will, as the name implies, reset the device to its setting straight out of the factory. This will clear any settings, problematic files, and will install the newest version of software upon powering up the device.
Note: Make sure that your Oculus headset has at least 50% or more charge before performing a factory reset, as it can take a while and if the battery dies during this process it could permanently damage your device!
Follow these steps to factory reset your Quest 3 headset:
How to Factory Reset Oculus 3 Via Mobile App?
- In the Meta Quest app tap “Menu.”
- Click on “Devices.”
- Select the headset connected to your mobile device.
- Tap “Headset settings.”
- Go into “Advanced settings.”
- Select “Factory reset.”
- And finally “Reset.”
How to Factory Reset Oculus 3 Via In-Built Buttons?
- Turn off the Oculus Quest 3 headset.
- Hold down the power and volume down buttons, until a boot screen appears.
- Use the volume buttons on your headset to select “Factory reset” and press confirm the option by pressing the power button.
Once the factory initialization on your Oculus Quest 3 is complete, complete the startup recovery procedure and reinstall all of the applications erased by the process. When you’re ready, test whether Oculus Quest 3 not connecting to PC or the problem is now solved.
Let's Recap!
If you have a problem with Oculus Quest 3 not connecting to your PC, update the software of the headset, and drivers of the GPU, and restart your PC, headset and app. If the issue still persists factory reset the Quest 3 VR headset.
Related Articles:
- Oculus Quest 3 Games Crashing on Startup? – Quick Fix Guide
- How to Fix HDSLVC Error Oculus Quest 3? – (Quick Solutions)
- Oculus Quest 3 Not Charging While Playing? – (Easy Guide)
- Oculus Quest 3 Controllers Not Charging – Easy Ways to Fix
- Oculus Quest 3 Stuck On Pairing Screen? – Quick & Easy Fixes
- Oculus Quest 3 Won’t Connect to WiFi? – 8 Best Ways to Fix
- Oculus Quest 3 Not Showing in App – 6 Beast Ways to Fix


![[FIXED] Content Warning Keeps Crashing On PC - (12 Solutions)](https://gamescopes.com/wp-content/uploads/2024/04/Content-Warning-Keeps-Crashing-On-PC-Featured-300x240.webp)


![[FIXED] Chained Together Disconnecting From Server (Fix It NOW)](https://gamescopes.com/wp-content/uploads/2024/07/Chained-Together-Keeps-Disconnecting-Featured-300x240.webp)